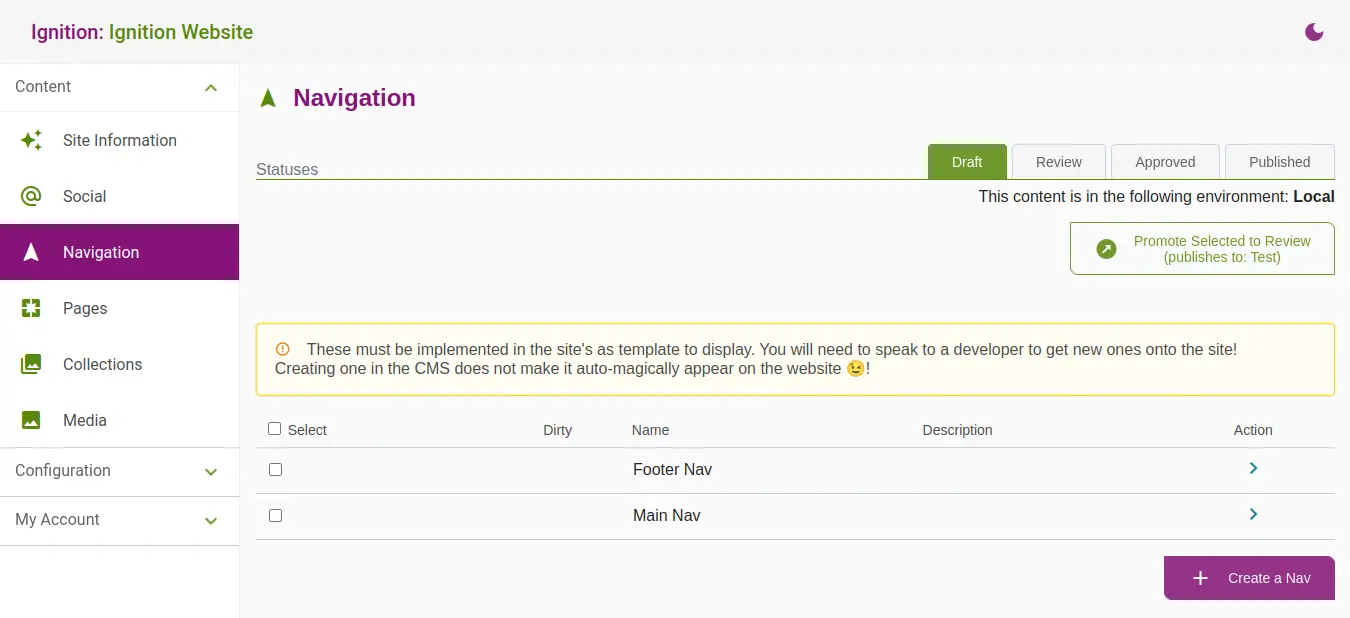
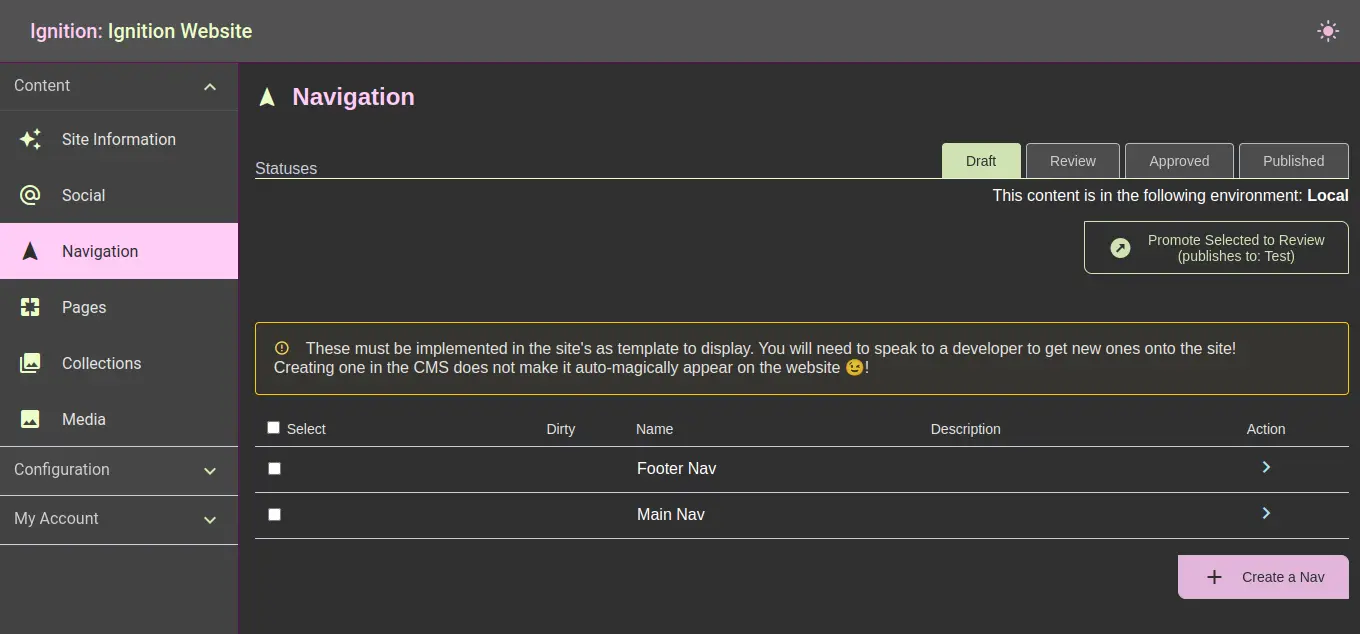
The navigation page allows you to create lists of links to be used in navigation.


Creating a Nav
- To create a new nav, click the Create a Nav button at the bottom of the screen.
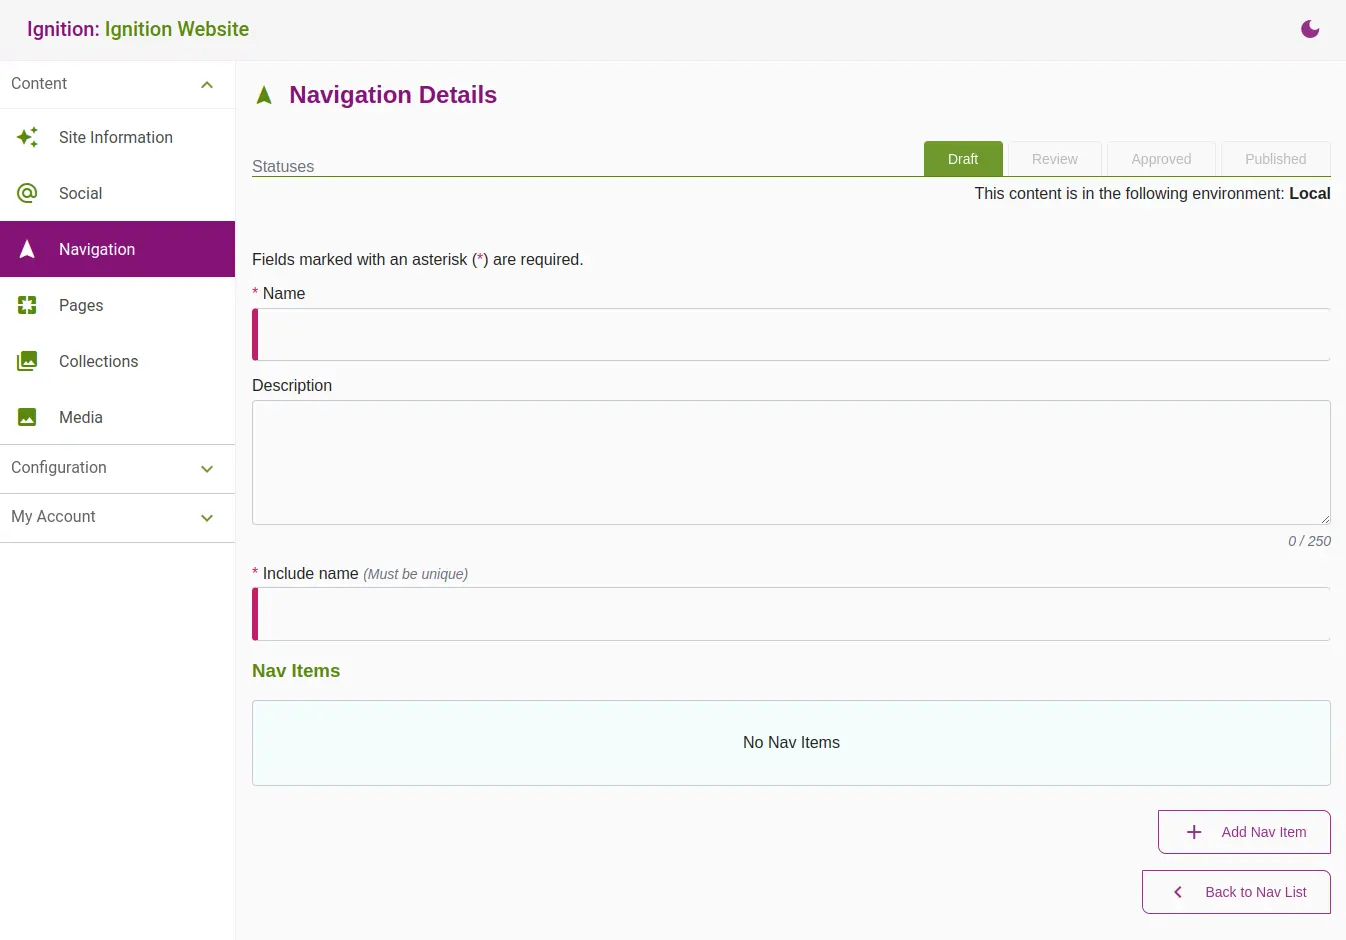
- You will be navigated to the create page.


- Fill out a Name and Include Name for the nav. You can optionally give a Description to the nav.
The Include Name is used by developers as unique identifier for the nav. Think of this as a human readable ID. Once they are created they cannot be changed.
- Add Items to the nav.
Adding Nav Items
- Click the Add Nav Item button at the bottom of the page.

.webp?alt=media&token=ab94bd66-52c5-4129-8dc2-b922443e3a7f)
- If you are adding a link to a page within the site, select a page from the dropdown.
If you are adding a link to a page that is external to the site click the External Link toggle and Fill out the URL field. - Add a label. This is the text that will be visible to the user.
- Click Add Nav Item.
Adding Children
You can click the Plus (+) button and follow steps 2 - 4 of above.


Reordering Items
Drag & Drop
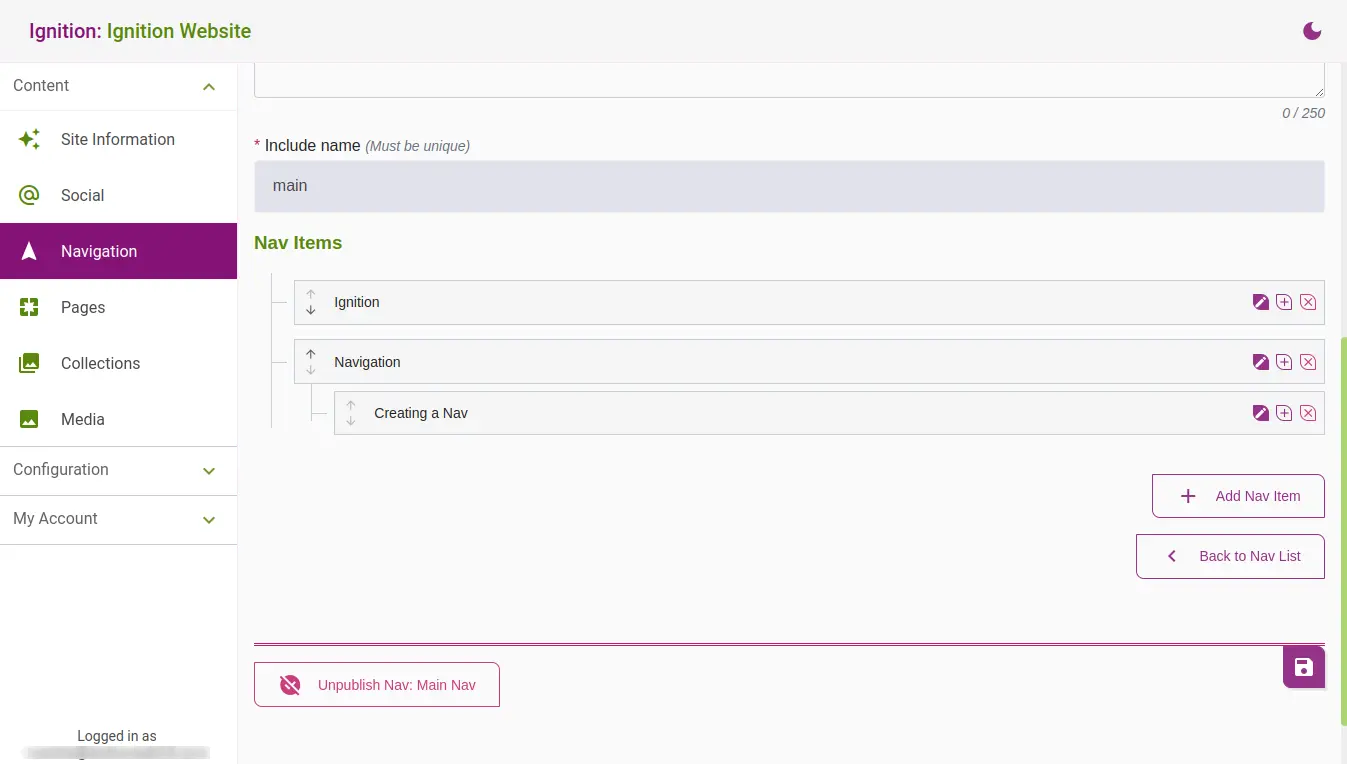
Once links have been added you can reorder the links via drag and drop. Click and drag the item. A placeholder box will appear where the link will be placed.
You can also drag an item to become a child of a link for multi leveled navigation.
Don't forget to save your changes!
Using the buttons
To reorder items via buttons use the up and down arrow buttons at the beginning of the link item to move the link up or down the arrow.
Don't forget to save your changes!
Removing a Nav Item
- Click the X (Remove) button on the item.
- Save your changes.
Unpublishing A Nav
An unpublished Nav will no longer be sent to the UI.
To unpublish, click the Unpublish Nav button at the bottom of the nav page.
