The Media Section
The Media section is where you will be able to find all the images and files currently uploaded to Ignition.
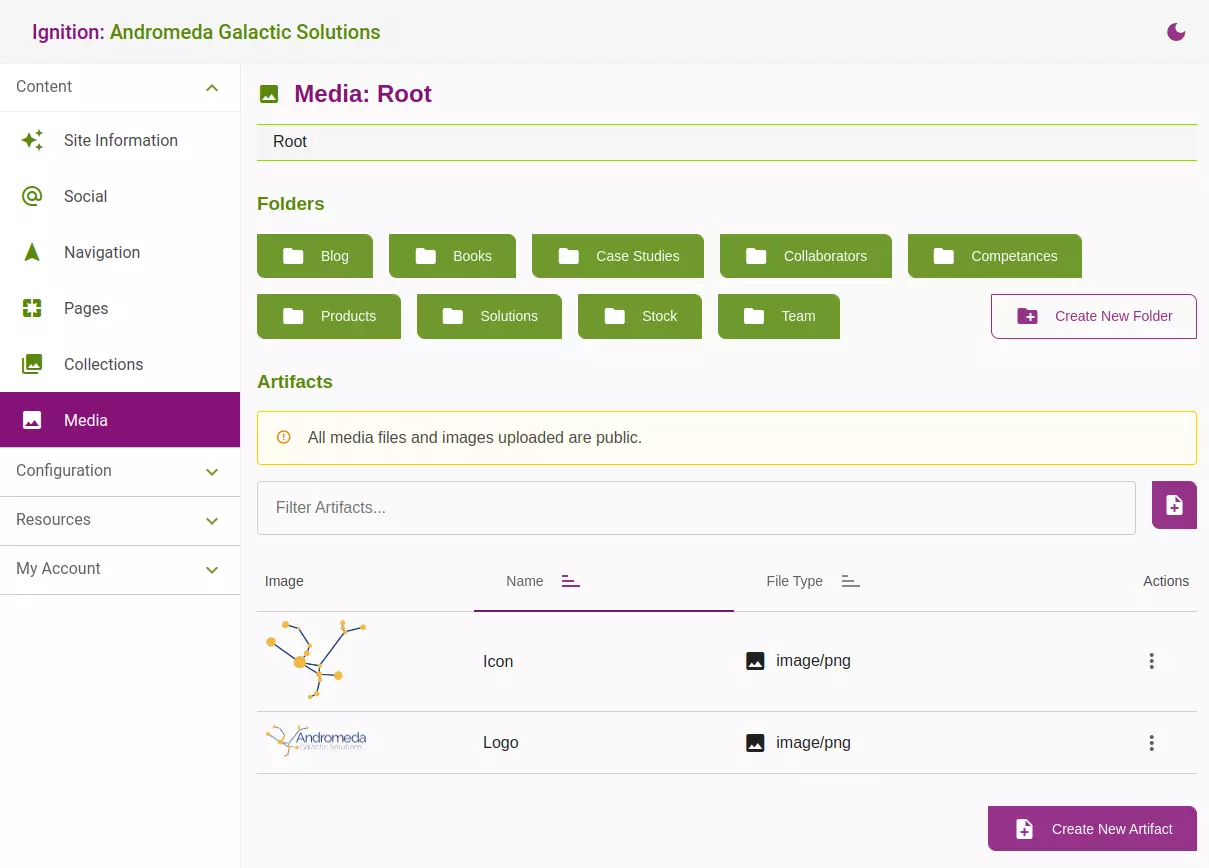
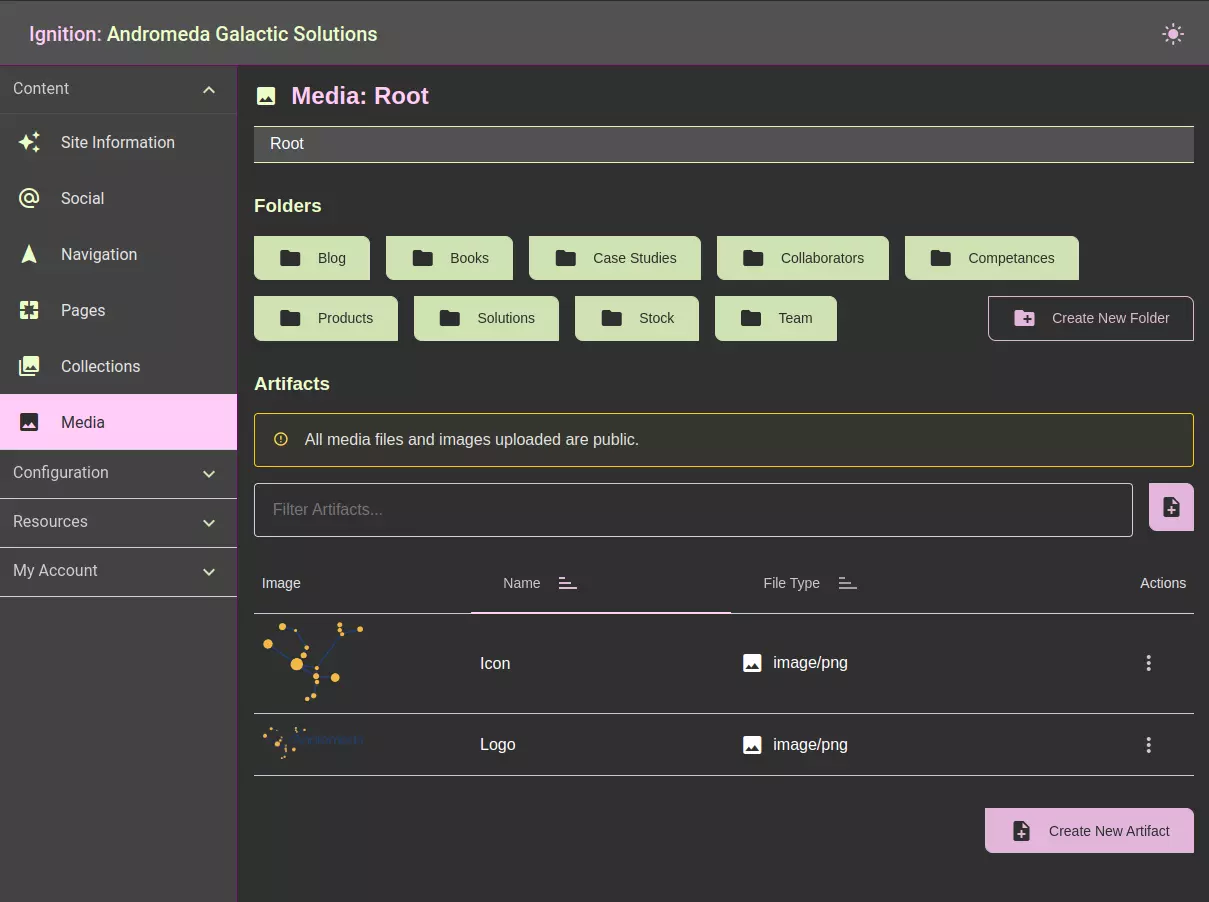
Artifacts can be organized in folders to make them easier to find.
Adding a new artifact to the CMS
From the media section
- While in the folder in which you would like to add the piece of media, click the Create New Artifact link at the bottom of the page.
- Fill out the fields:
- Name the artifact, this will make the image easier to find when adding it to a page or piece of content.
- Select an artifact type (Image or File).
- Upload your artifact.
- Add alt text if the artifact is an image.
When the image is added to content, this alt text will automatically be added to the content as well
- Click save.
Adding new artifacts while composing content
You do not need to pre-load artifacts from the media section while creating content. You can do it on the fly right where you are.
From the content editor (WYSIWYG)
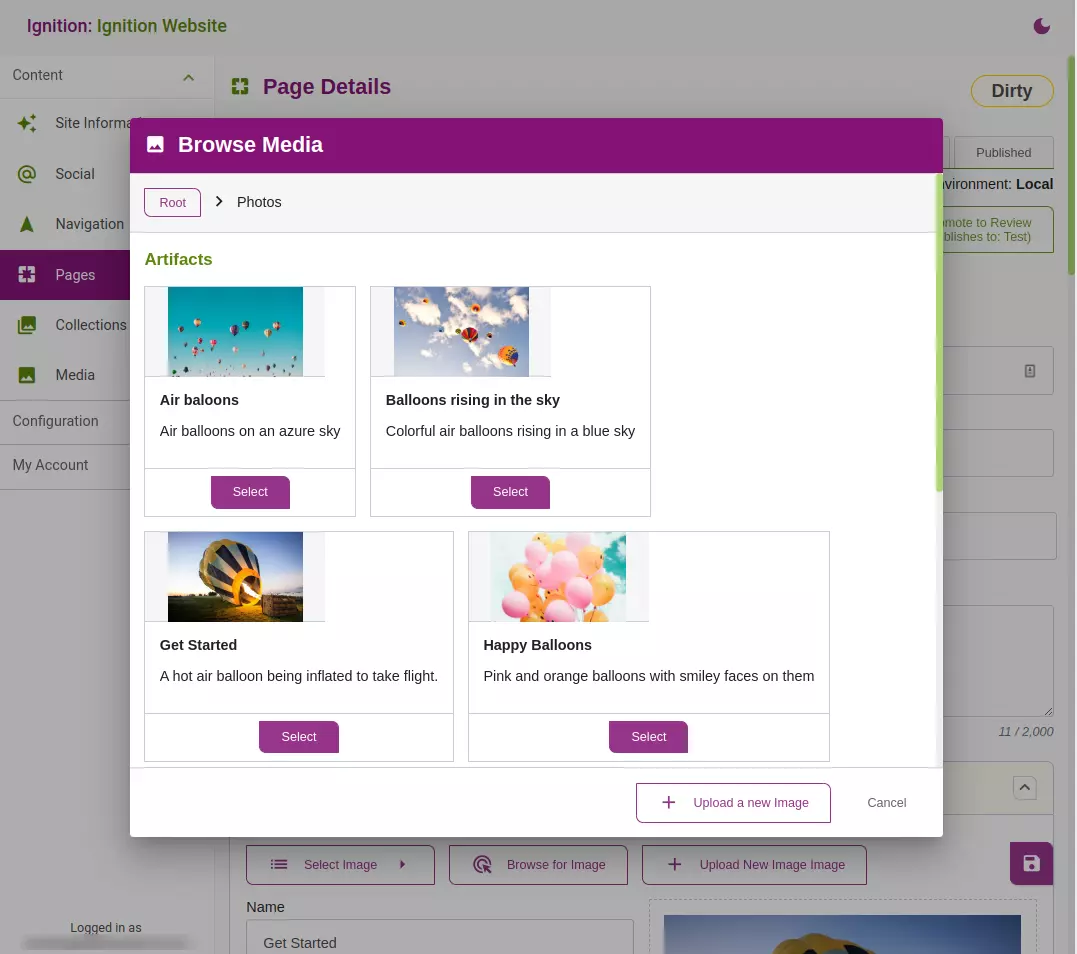
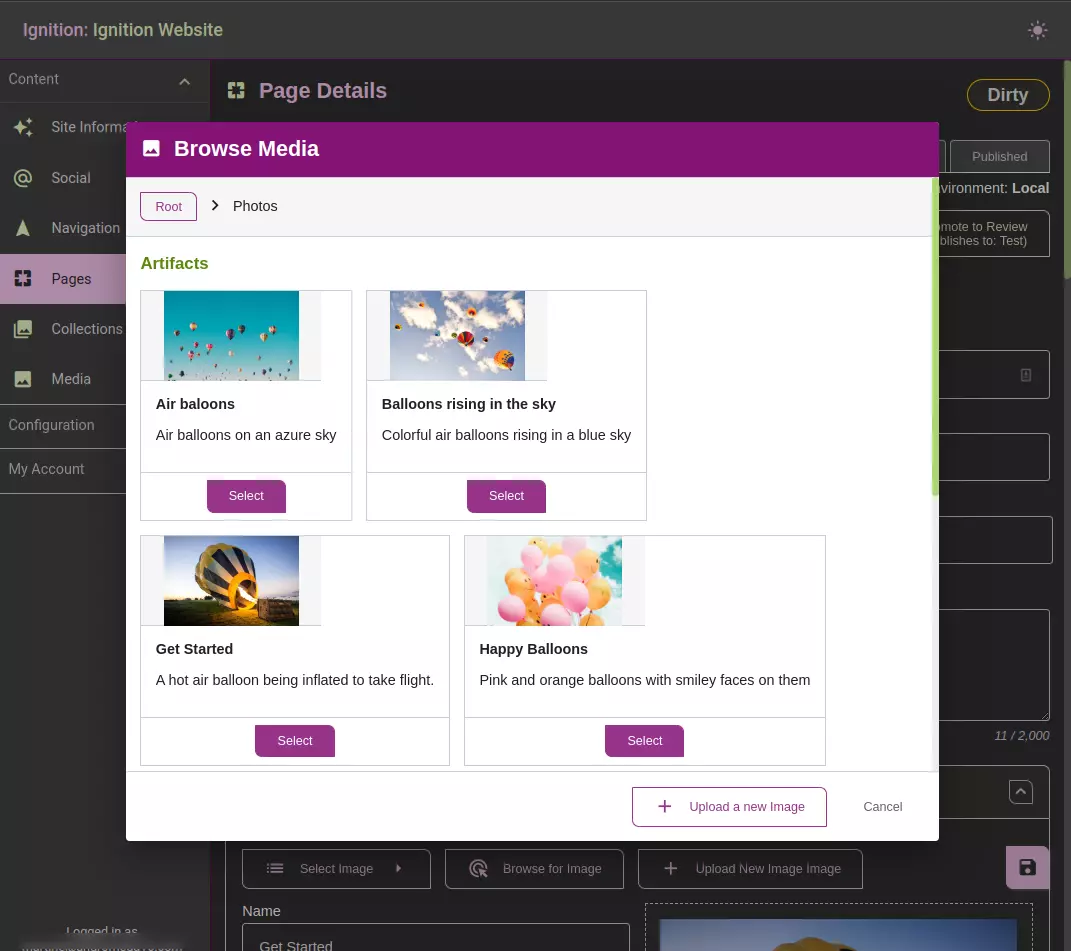
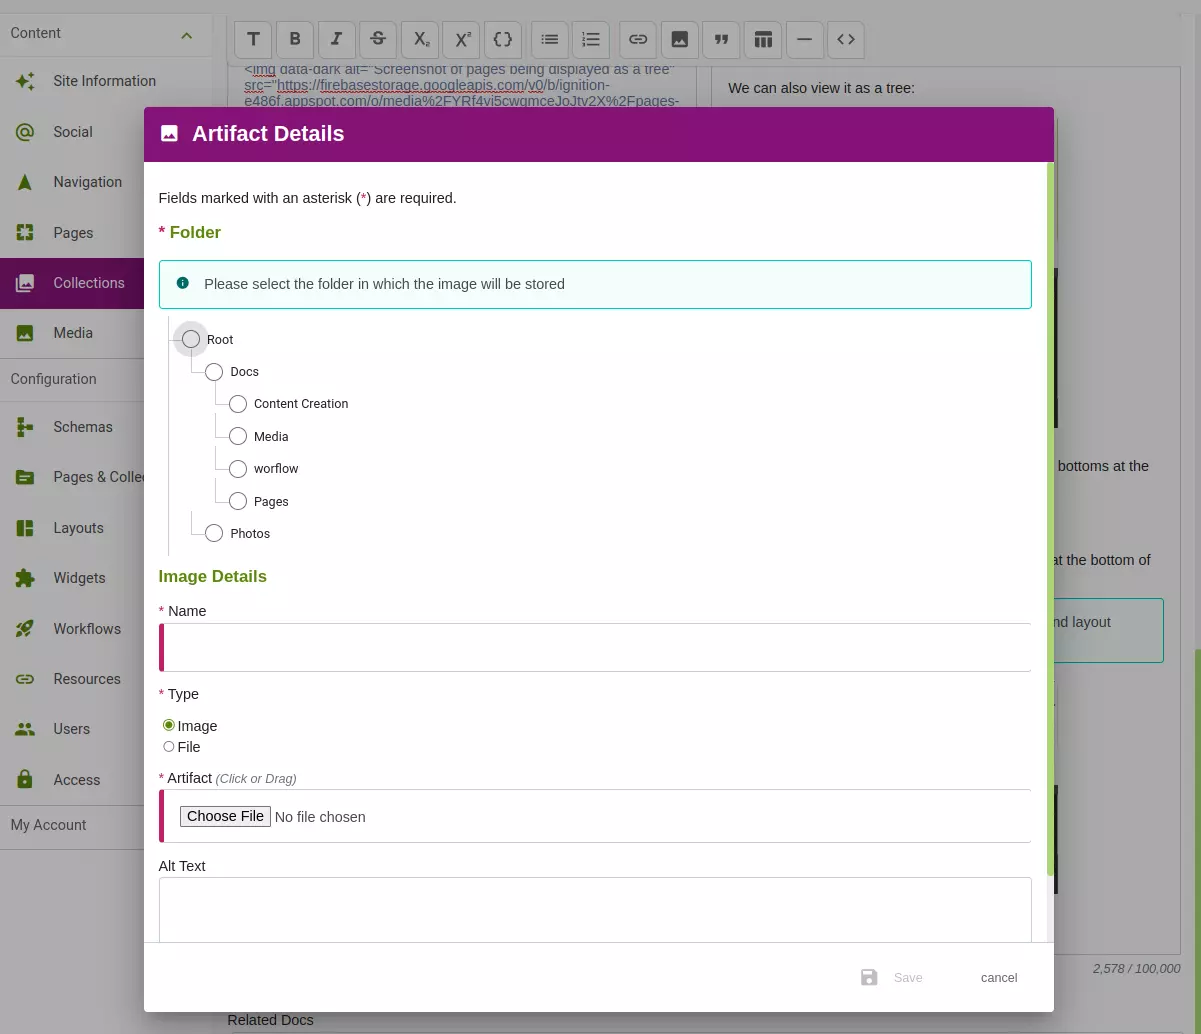
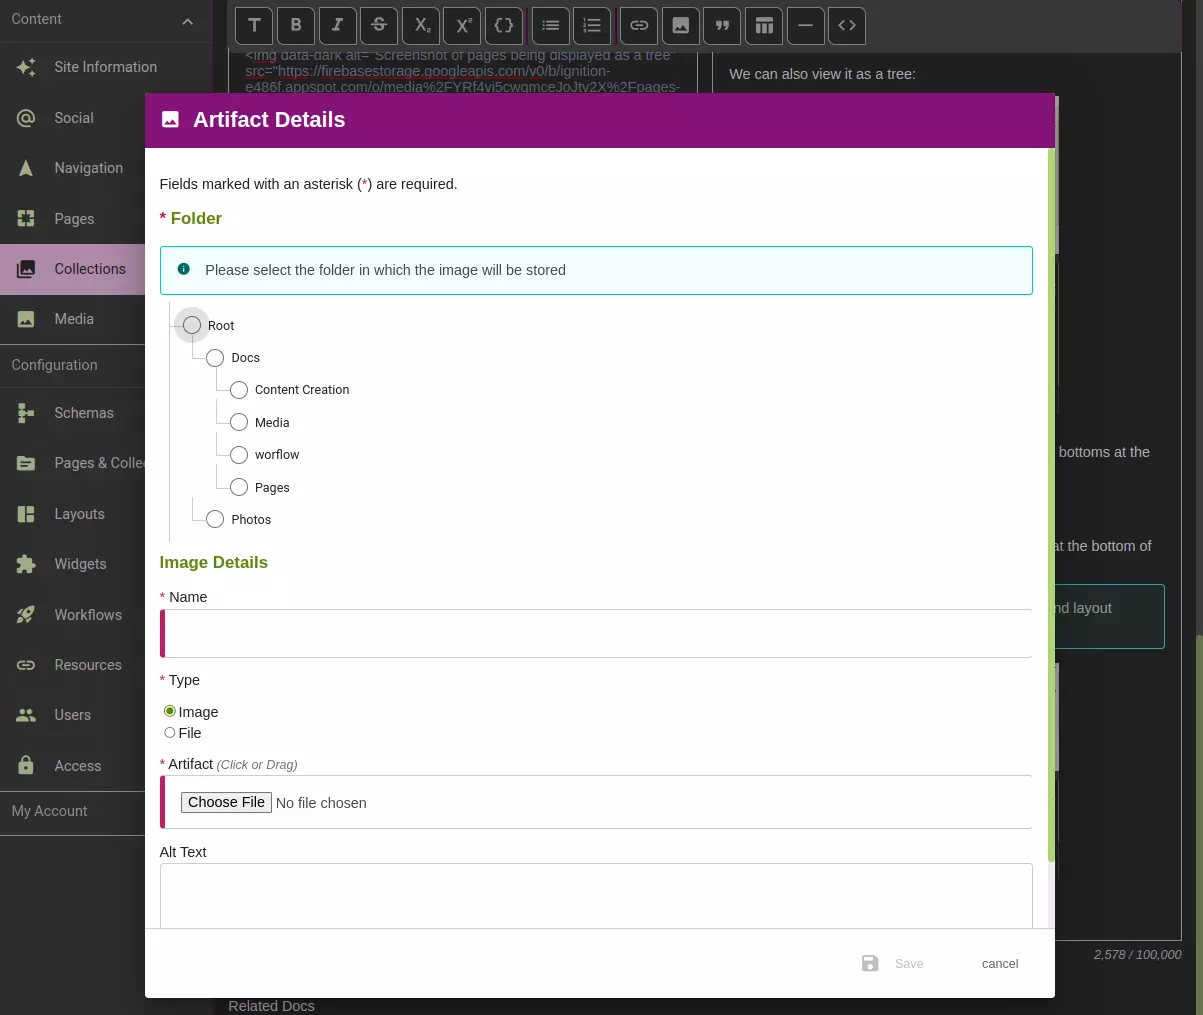
- Click the image icon in the WYSIWYG toolbar.
- At the bottom of the dialog click Upload a new image.
- Select the folder in which you would like the image to be stored.
Note: You cannot create new folders from this view! - Fill out the fields:
- Name the artifact, this will make the image easier to find when adding it to a page or piece of content.
- Select an artifact type (Image or File).
- Upload your artifact.
- Add alt text if the artifact is an image.
- Click save.
Adding an artifact from an Image Field
Click the Upload New Image button and repeat steps 3 through 5 from the WYSIWYG section above.

Adding an artifact to WYSIWYG content
There are 2 ways to add images to your content.
- An image field
- In markdown
Which of these are available to you and when will depend on how your content schema has been set by your developer or admin.
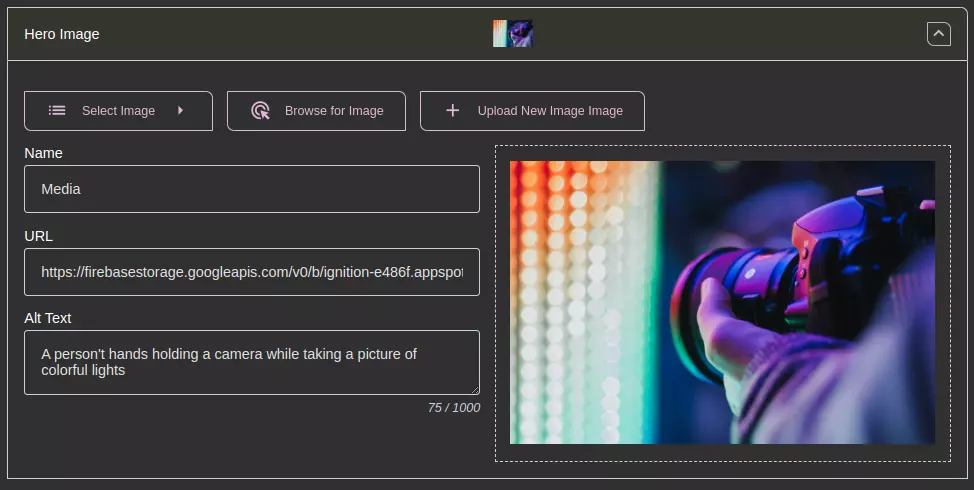
Image Field


Either directly select the image from the Select Image menu or browse and select it via the Browse for Image button.
The name and Alt text will automatically be pulled from the image data but can be customized for this piece of content if needed. This will not affect the default name and Alt Text of the image.
If you click the Browse For Image button and realize you don’t have your artifact uploaded, notice the Upload a new Image button at the bottom of the dialog. This will allow you to add a new artifact using the same steps described above.
WYSIWYG
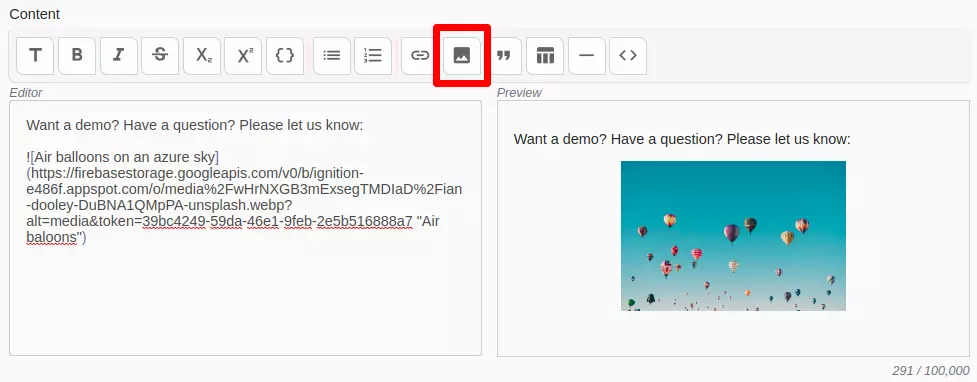
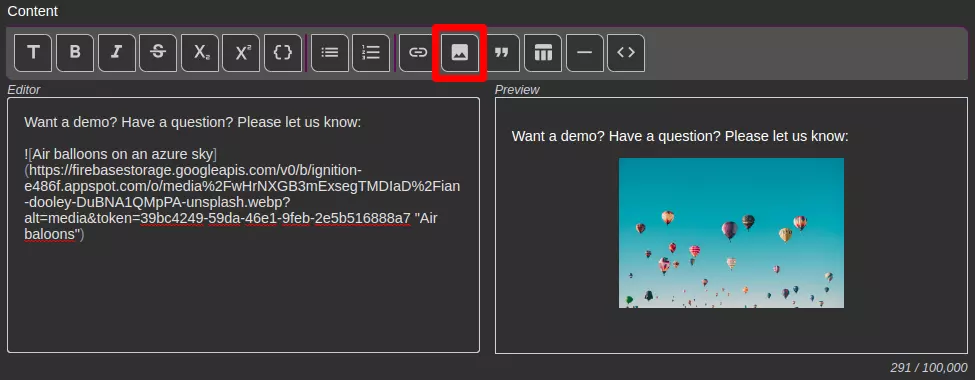
- Click the image icon on the toolbar and select the image you want to use
- The image will be added in markdown to your content and will appear as follows:

You cannot add lazy loading or image size using markdown, if you wish to do so you will need to use HTML. HTML can be used in our WYSIWYG. It will appear as follows:
<img src="UrlToImage" width="##" height="##" loading="lazy" alt="ImageAltText" title="ImageName">
Reasons you may want to transpose to HTML and add all the details are:
- Performance
- Page load time
- Diminishing layout shifts
